While working on the upcoming refresh of the Alfred website, we created this reminder of Alfred's core values:
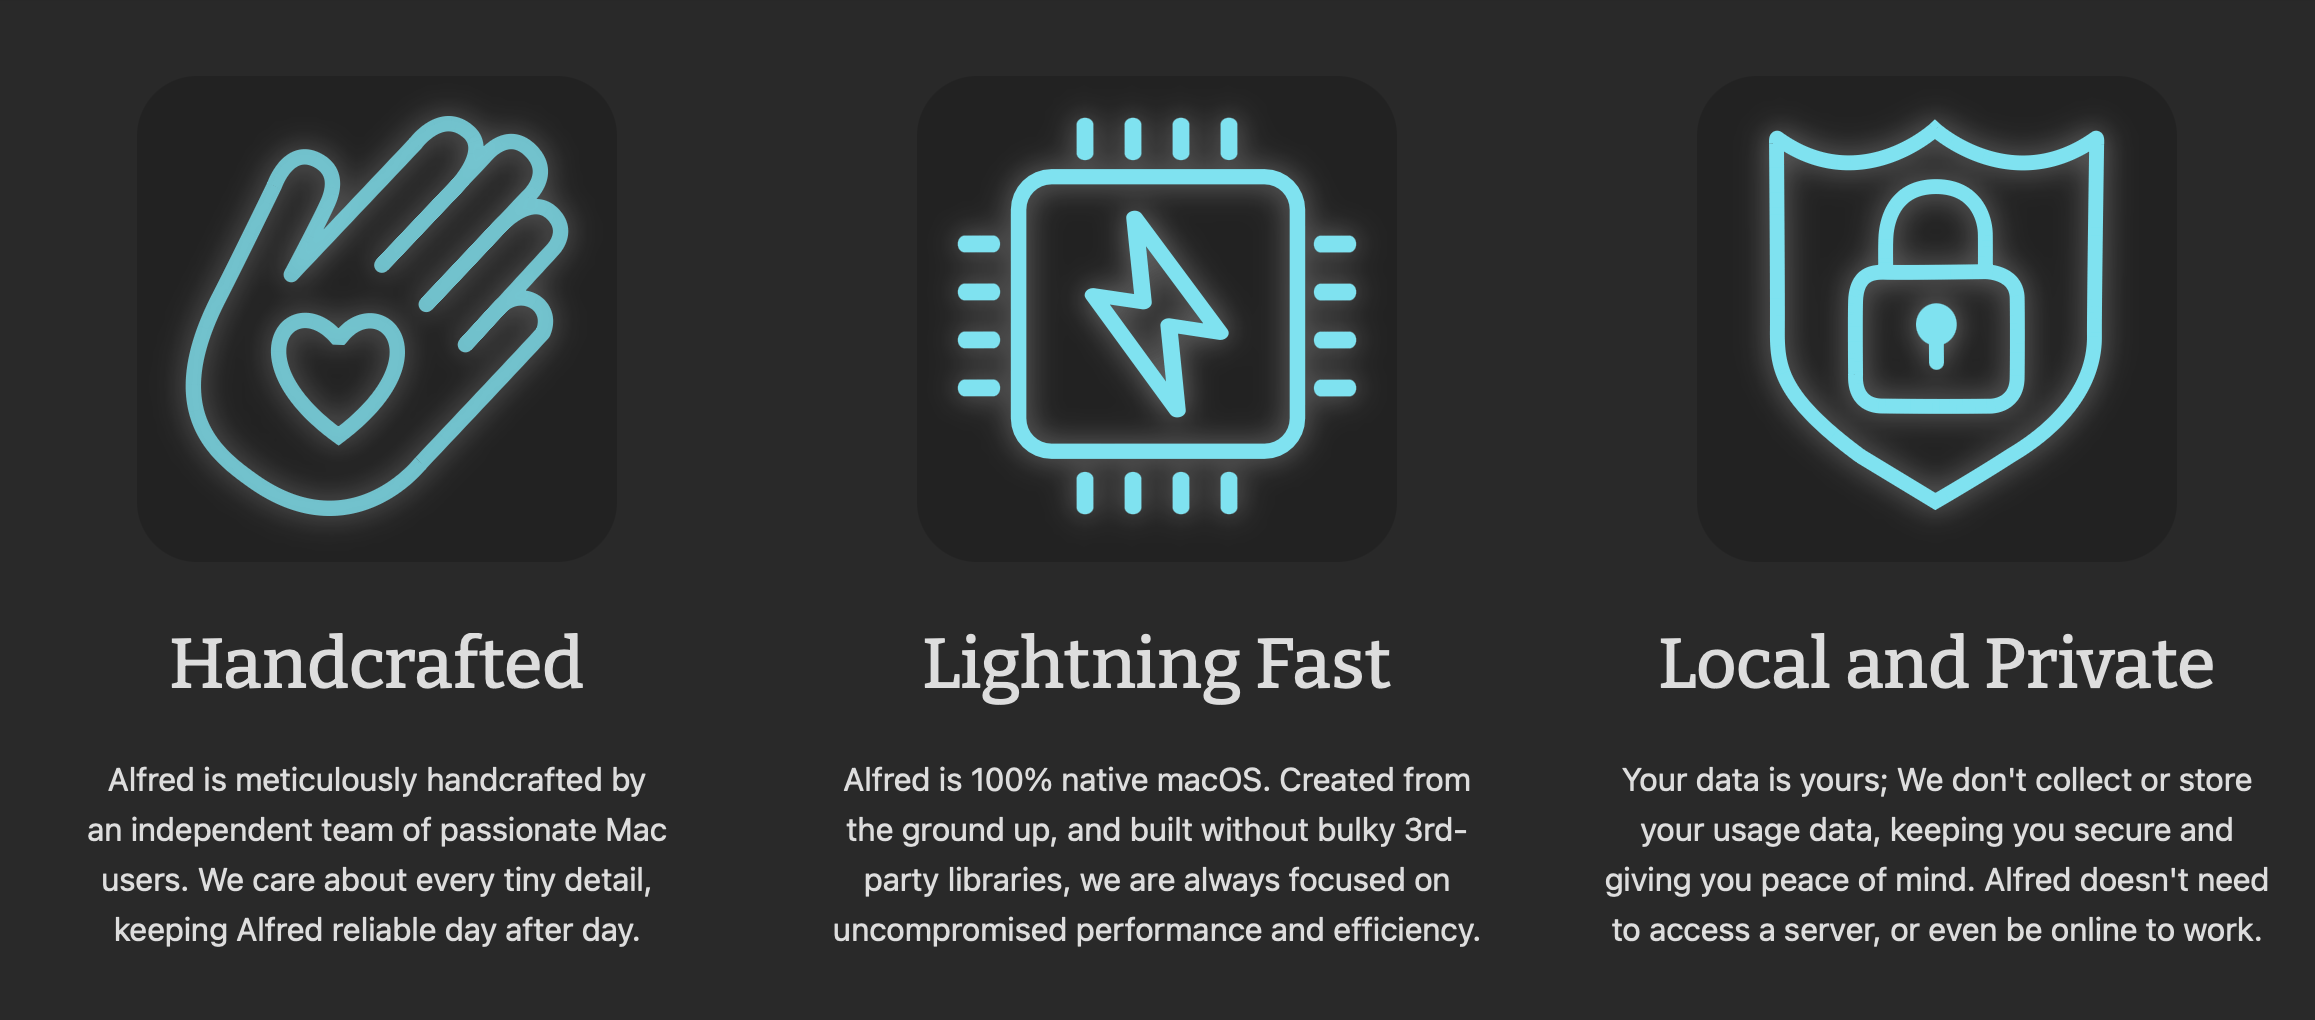
For community members who have been with us a long time, you'll know that since day one, our objective has been to keep Alfred lightweight, as fast as possible, and practically invisible when not in use.
How many apps can boast the sheer range of features in Alfred, including a full visual development environment for workflows, contained within a sub-6 MB dmg file? This isn't an installer, it's the full app. There are no additional background downloads - 6 MB, that's it!
We love making these continuous improvements, as we shared in our recent post about Alfred's onboarding experience, with a view of making your experience as smooth as possible.
Alfred is so much more than a collection of features; It's an incredible community of users, creators and friends.
We can't wait to share the new website - as well as some exciting sneak peeks - with you soon.
Even between major updates, our approach for Alfred has always been one of steady, ongoing improvement. Sometimes, it's through bold new features, but more often, it happens through incremental, subtle refinements to the user experience. A speed improvement here, an efficiency tweak there.
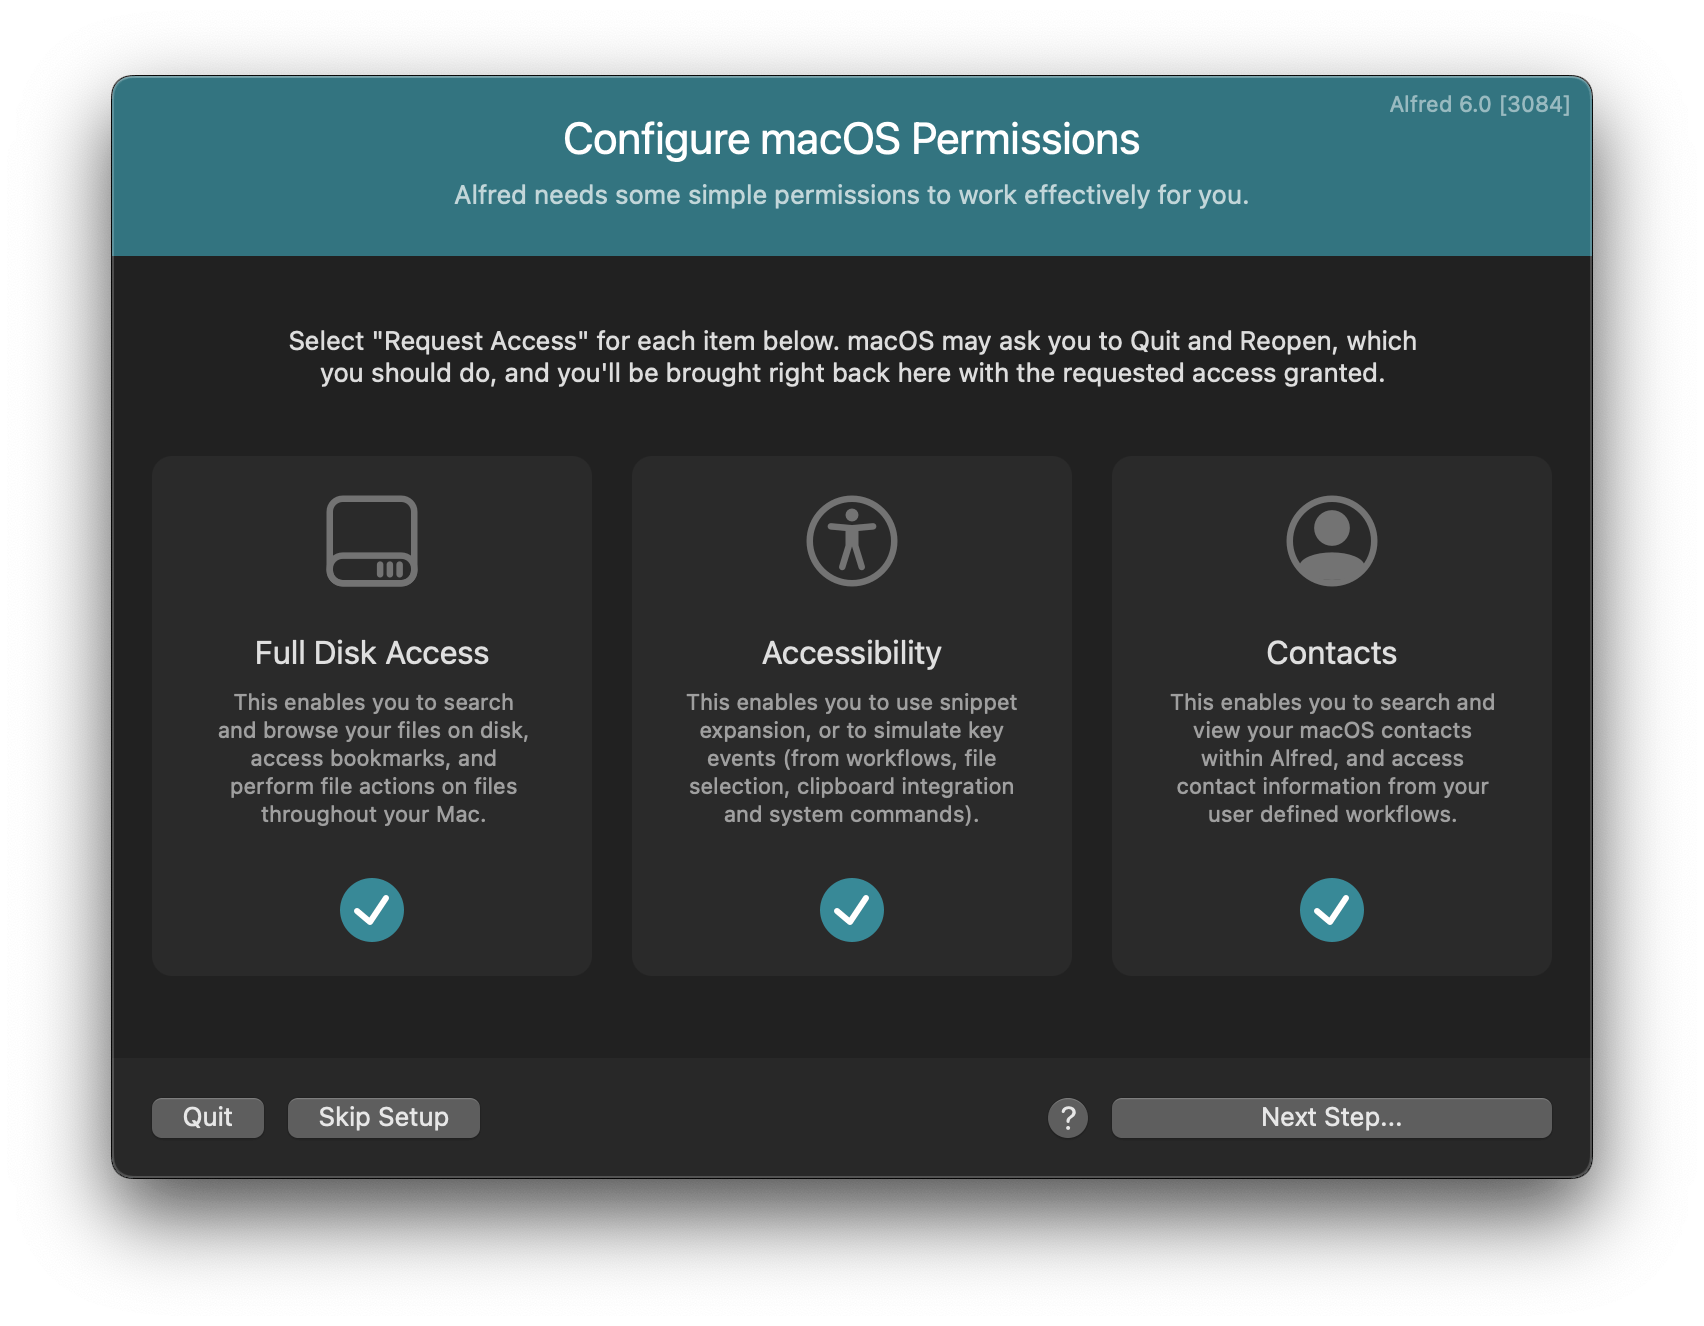
Alfred's onboarding and migration process is one of our recent areas of focus; It has always been very functional but, over the years, Apple has made the process of requesting permissions a little fussier with every macOS version. We wanted to make this experience more polished and streamlined for new and existing users.
In an upcoming update, when you install Alfred fresh or upgrade from an earlier version, you'll see this new tidy configuration screen, where you can easily pop up the relevant macOS permissions and confirm they've been granted with clear checkmarks.
As the 2026 Winter Olympics begin, Alfred community member FireFingers21 has created a workflow we can all use to keep track of the Olympics' schedule, standings and stats.
The official opening ceremony is held on Friday, 6th February, with athletes from more than 90 countries competing on snow and ice over the next two weeks in Milan and Cortina.
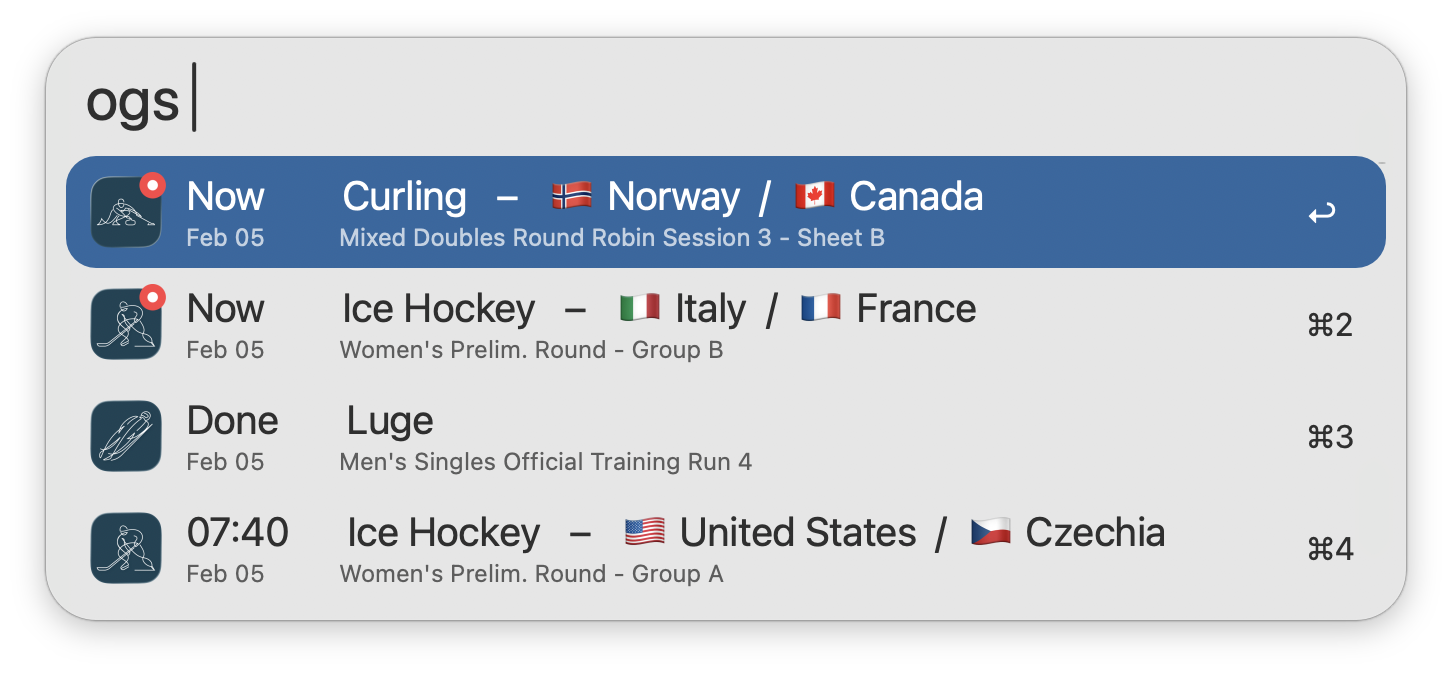
Download the Olympic Standings and Stats workflow from the Alfred Gallery.
Use the keyword ogs to view the schedule adjusted to your local time zone. Type to filter by Sport, Country, Event, or Date.
FireFingers21 adds his own Olympian trivia:
"The Athens 2004 Summer Olympics were the first Olympic Games to be broadcast live over the Internet, in which streaming video and highlight clips were made available through mobile phones using 3G.
Now just over 20 years later, 8K streams have been made available and viewable over 5G, while key information can be conveniently glimpsed from an Alfred window on a Mac!"
Which sports will you be watching this winter?
Why not check out some of our other sports statistics workflows, like the football Premier League Stats, basketball NBA Scores and hockey NHL Stats workflows?

What better way to wrap up 2025 than receiving the prestigious MacStories Readers' Choice award!
MacStories is a longstanding and reliable source of coverage for all things Apple, so it was great to hear a few days ago that MacStories members chose Alfred as their favourite app of the year!
We hope you've had an incredible and productive 2025. We've been hard at work this year, supporting the brilliant community of workflow creators, and quietly working on some very exciting upcoming Alfred updates.
We can't wait to share these updates with you in the new year. Until then, Andrew, Vítor and I (Vero) wish you a joyful festive season!
This is a three-part series on Alfred's Automation Tasks workflow object.
In the first part, we created a workflow to quit all apps except some pre-defined ones, allowing you to quickly create a focused work environment.
In the second post, we used an Automation Task to capture text from an image and copy it to Alfred's clipboard.
With 231 Automation Tasks at your fingertips and more being added regularly, you can create powerful workflows with no need to know how to script or code anything!
In this third and final post, we'll learn how to merge images into a PDF document using Alfred, with two different ways to use the workflow.
Two ways to trigger the workflow
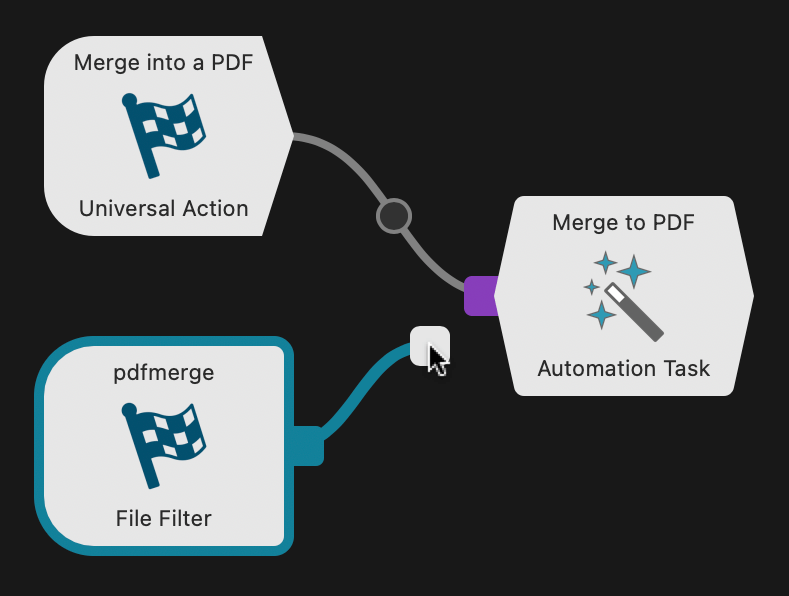
When using this workflow, we need to select our images first, then trigger the creation of a PDF file. To achieve this, we'll create the first path by connecting a Universal Action Trigger to the Automation Task object.
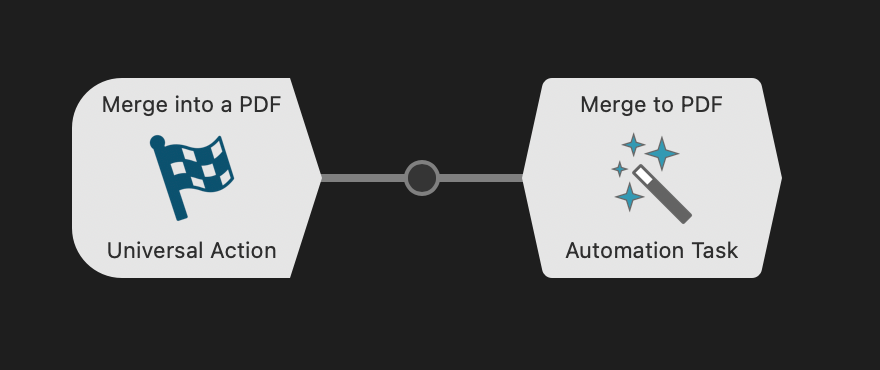
The Universal Action is configured with:
- Name: Merge into a PDF
- Show only when Files are selected
- Accept single and multiple arguments (files) at once

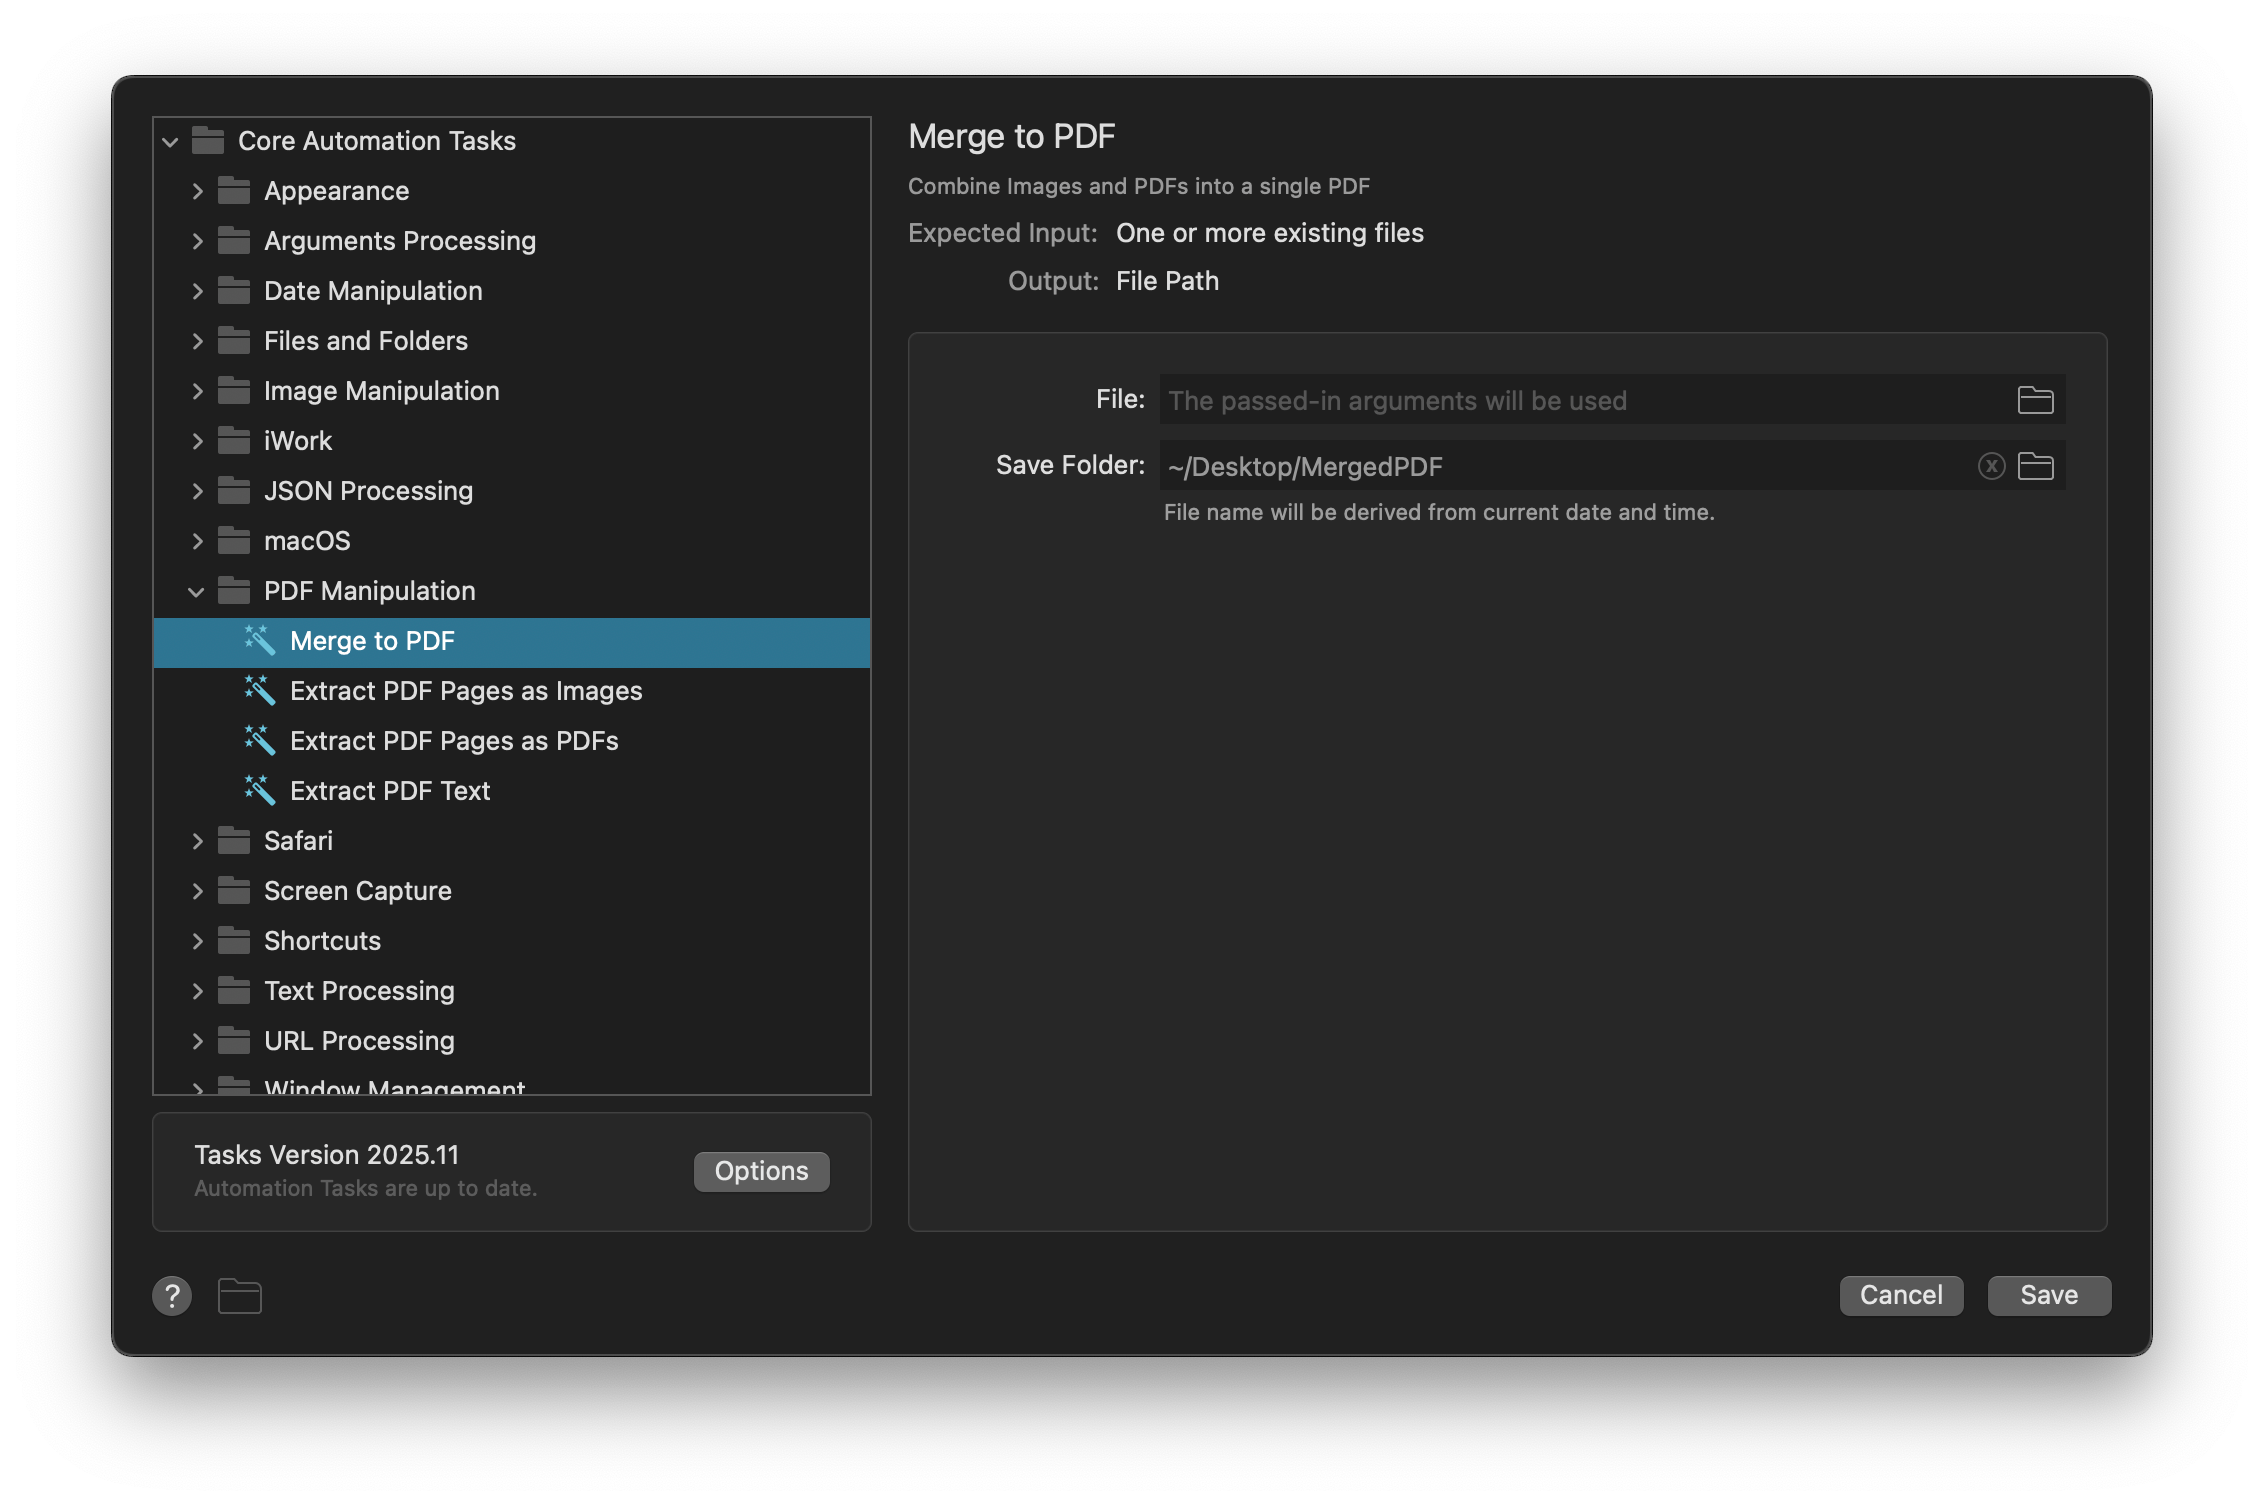
For the Automation Task, we'll choose the task Merge to PDF from Core Automation Tasks > PDF Manipulation.
We need to configure the folder where the created PFDs will be stored; In this case, I opted for a MergedPDF folder on the Desktop.
Next, let's add a second way to send files to this Automation Task; A File Filter object, which is configured with:
- The keyword
pdfmerge
- A placeholder title and subtext
- File types for JPEG and PNG images, dragged in from Finder or Alfred results

The File Filter connects as an input into the Automation Task.
A Quick Trick: Adding multiple files with the File Buffer
When browsing Alfred's results, you can use ⌥↑ (Alt + the up or down arrow) to add files to the File Buffer at the top of Alfred's search bar.
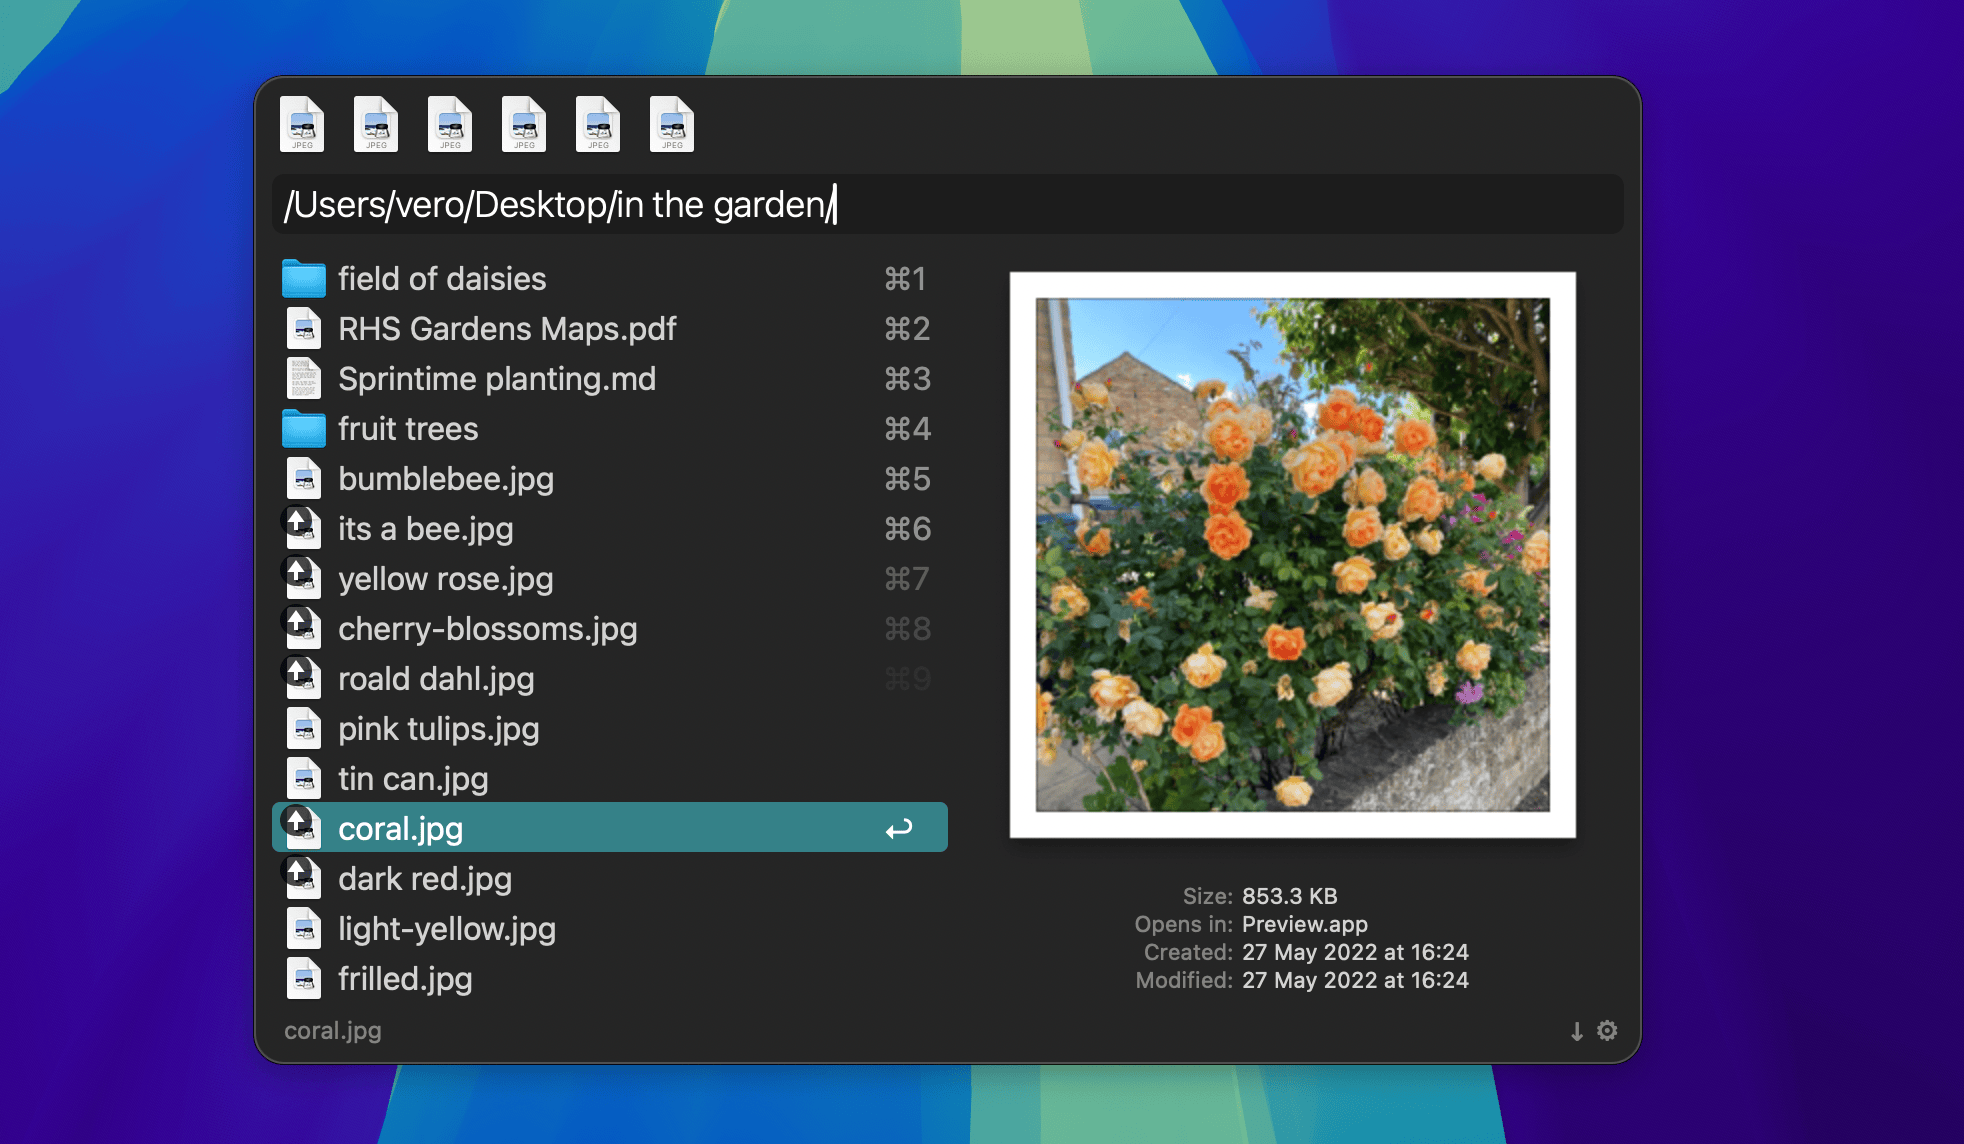
Use ⌥↩ (Alt + Return) to take action on all results at once, or ⌥→ (Alt + right arrow) to show the Universal Actions for the Buffer results.
Add a little more convenience
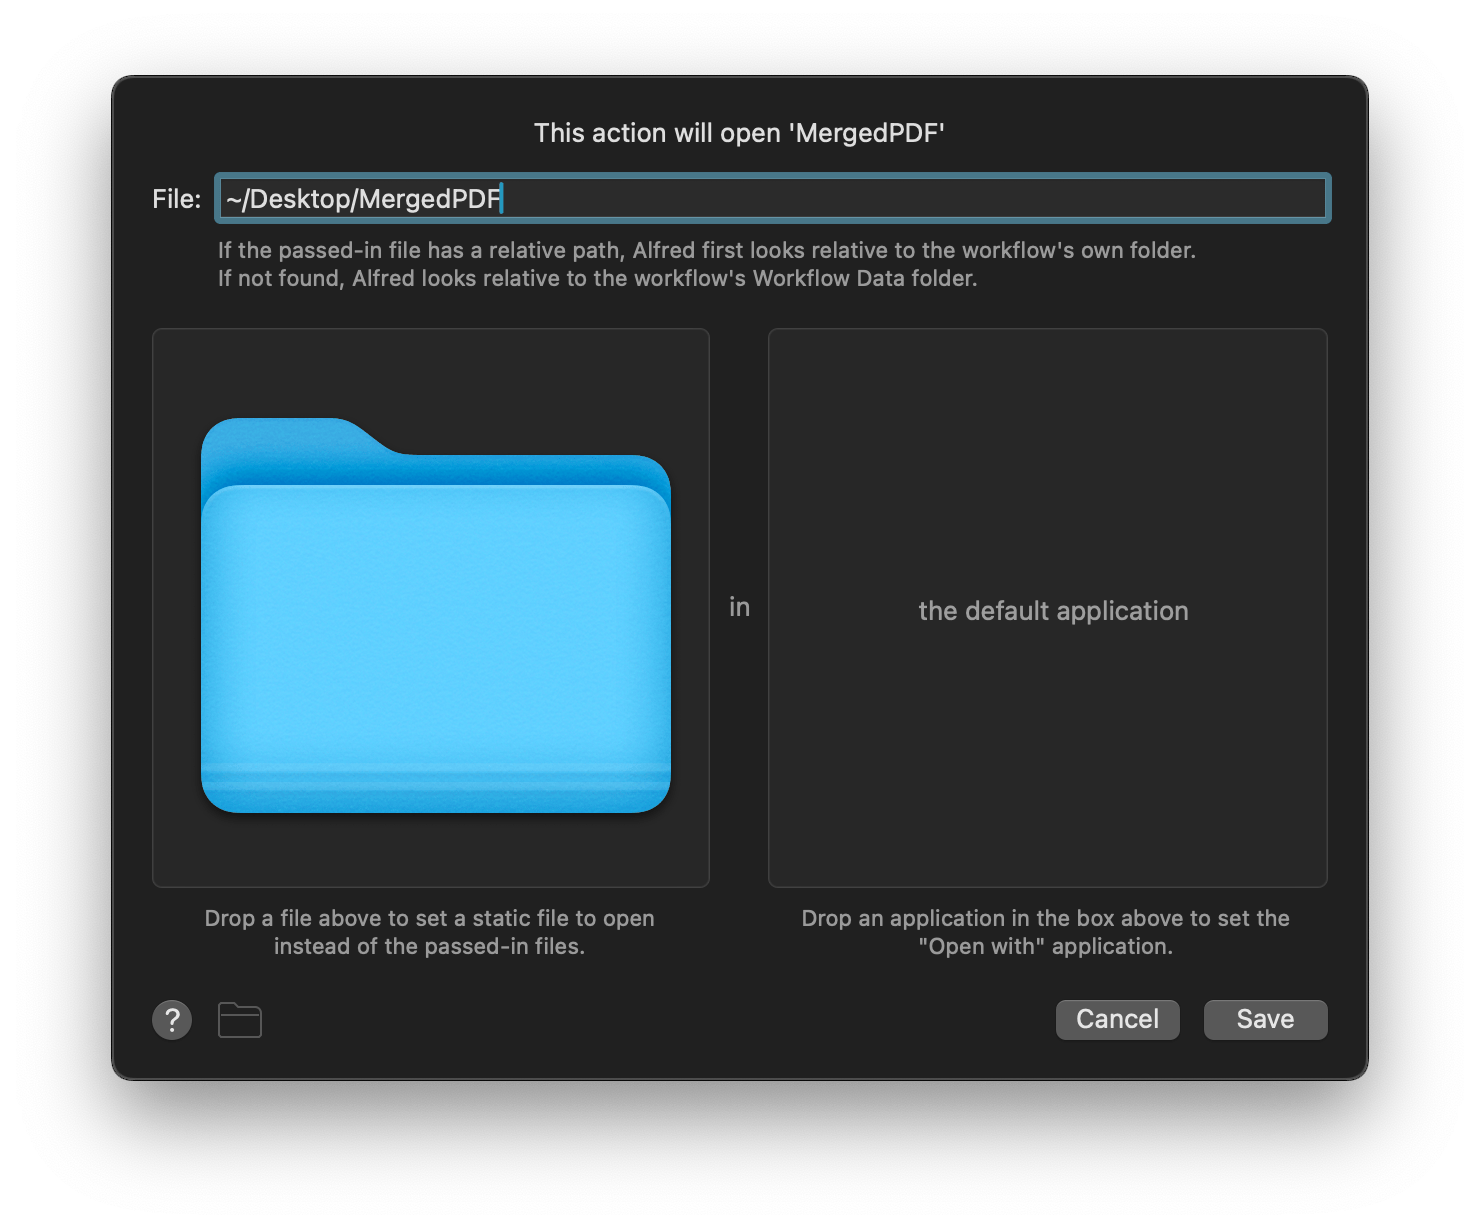
It's great that our workflow can now generate these PDFs, but it'd be even better if it automatically opened the folder containing our generated PDFs in Finder for instant access.
Add an Open File Action at the end of your workflow, configured to open the ~/Desktop/MergedPDF/ folder in Finder.
Our finished workflow
And finally, we can admire our succinct but very useful workflow.
It can be launched in two ways:
- Select files in Finder and use the Universal Action hotkey, which is ⌘/ by default
- Find one or more files via the File Filter, optionally add them to the File Buffer, and use the right arrow to show the Universal Actions

Let us know what you'd like to learn about Automation Tasks next time on the Alfred Forum and share your own workflow creations with us.